1. Click “Calendar” in the top navigation bar:
2. Find your scheduled tasks by either locating them in the calendar, or searching for them in the Calendar Items table

3. Once located, click on the specific task you would like to manage and it will open just below the Calendar

4. From here you can use this window to edit and update your action item, add sub-tasks, upload supporting documents, or leave a comment. These will be explained in detail further below.
Editing a Calendar Item
1. Click "Edit" in the bottom left of the task:

2. Edit your calendar item as necessary and make sure to hit Save in the bottom right corner of the form.

3. NOTE: IF you are editing a task and you would like the changes to take affect on that, and all following tasks in that re-occurring series, then click the corresponding button and then save your changes.
Adding a Sub-Task
1. Click “Related" in the window above the "Actions" section.

2. Use the drop down menus on the right side of the page to pick the appropriate "Report" or "Calendar item" to relate to this task:


3. Then complete that form making sure to Click the "Save" button in the bottom right corner of the form before exiting.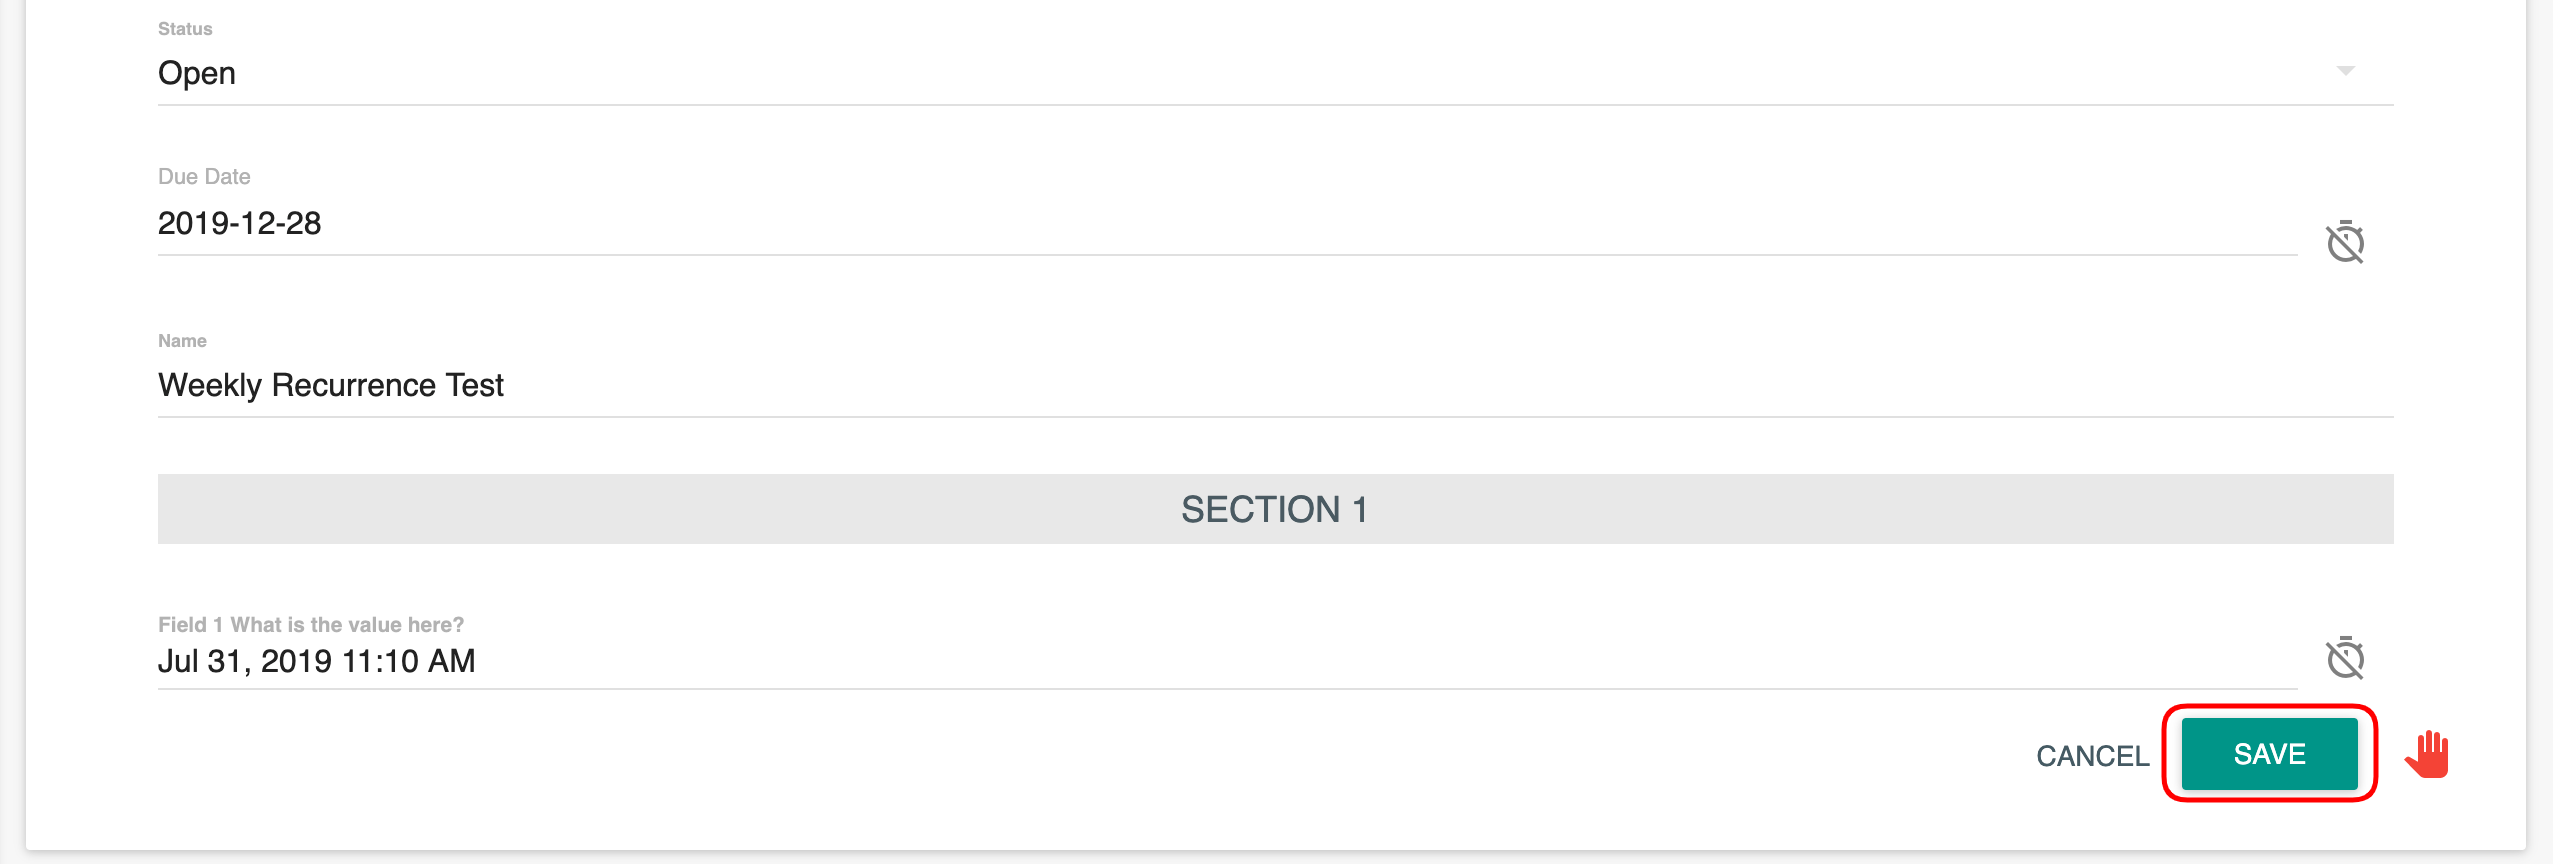
Uploading Supporting Documents
1. Click “Supporting Documents" in the Calendar Event window and then "Upload Document"

3. Select the document or photo from your computer, assign it a unique name, and then click “Upload.” The document will now be associated with this Calendar Event, as well as available in your Document Library.

Leaving a Comment
1. Click “Comments" in the window above the "Calendar Items" section. There will be a space for you to write your comment, then click “Submit”.

*Note – In order for a Calendar Item to be tracked via a parent Calendar Item or Report, it MUST be added under the Related tab of the governing Calendar Item, not via the “Add Data” wizard.