Use these steps to import historical data so it aligns with on of theCustom Forms you've created in your environment.
Step 1: Prepare the Form Template
- Go to the Admin section and select Custom Forms

- Find the form you want to upload historical data for and click the edit pencil
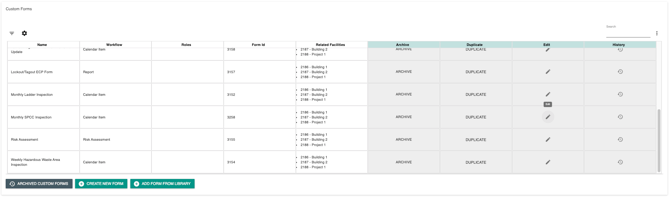
- In the dark gray bar at the top, click Settings
- Click Export Fields to download the form as an Excel file

Step 2: Clean Up the Exported Excel File
- Open the downloaded Excel file. NOTE: It includes many columns and fields that are not needed for import

- Delete any rows with these Field Names or Field Types:
- Section (Divider)
- Text Area Block
- Text Block
- Recurring
- Recurring End Date
- Frequency of Recurrence
- Facility
- (Requirement)
- Custom Recurrence Interval
- Custom Recurrence Volume
3. Review the remaining fields and note which ones are select menu fields and the exact answer options available. NOTE: You must use these exact values later
4. Delete all columns except the Field Name column, as well as the column header for the Field Name column
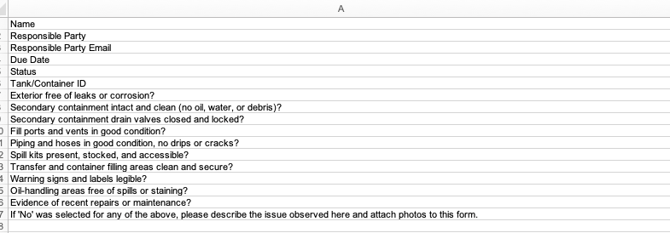
5. Copy the remaining Field Names and paste them transposed so they become column headers across the top of the spreadsheet

![]()
Step 3: Add Historical Data
- Add your historical data under each column header
- For select menu fields, only use the exact option names from the form. Do not modify spelling or wording

Step 4: Import the Data into the EHS-Dashboard
- Return to the Admin section and click Import Data

- Click Upload Document

- Select the Facility for the data

- Choose Calendar Items as the Document Type and click Next

- Upload your Excel file, then click NEXT, and on the next screen, UPLOAD

Step 5: Map the Data to the Form
- From the top dropdown, select the form you want to associate the data with
- Check the box labeled Add this table to database
- Match each column header to the correct form field
- Click Next to complete the import


Step 6: Confirm Completion
- A green check mark confirms the data was imported successfully

- Navigate to the appropriate area of the EHS-Dashboard to view your historical records
